__
Subscribe to this channel: https://bit.ly/3VFqR86
Website: https://bit.ly/3VPUnrJ
__
__
Social Media
Instagram: https://bit.ly/3J8l6Io
Personal Instagram: https://bit.ly/3TMWZnD
Pinterest: https://bit.ly/43LlPc1
Houzz: https://bit.ly/3xm04DE
__
__
What’s in my Bag? Check out my KIT!!
https://bit.ly/3PQtFeC
Camera – https://bit.ly/3POwEEH
Tech – https://bit.ly/43I2hFH
Drawing Tools – https://bit.ly/4aE5YOM
__
__
Creating and Organizing Drafting Views for Wall Sections in Revit
Introduction
This tutorial provides a comprehensive guide on creating detailed drafting views for wall sections and plan details in Revit. Drafting views are essential for specifying construction details like wall assemblies, insulation, and resilient channels. This article walks through the process of building these views, from copying grid guides to customizing components and organizing details within the project for clarity.
1. Setting Up a New Drafting View
To start creating detailed drawings, you need to set up a new drafting view with the appropriate scale. This step ensures that all elements are consistent with the overall project and are dimensioned correctly.
Key Steps:
Go to the View tab / Drafting View and create a new view.
Set the scale for the drafting view (e.g., 1 inch = 1 foot).
Copy over grid guides from an existing detail to serve as a layout reference.
This step sets up the framework for your drafting view, ensuring consistency and accuracy across all details.
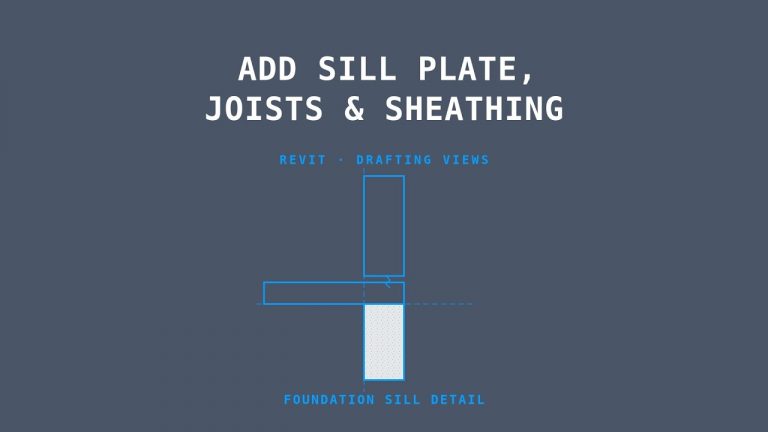
2. Adding Detail Components: Studs, Gypsum, and Resilient Channels
Once the drafting view is set up, the next step is to add the necessary components. In this example, a 1-hour fire-rated wall with a Sound Transmission Class (STC) rating of 51 is detailed, starting with the gypsum layers and 2×6 studs.
Key Steps:
Use the Annotate / Component tool to insert detail components like gypsum and studs (2×6 nominal size).
Load additional components, such as resilient channels, from the Autodesk family library if they aren’t available by default.
Align the resilient channels with the studs using the Spacebar to flip orientation if needed.
These components form the core of the wall section, ensuring that the detail accurately reflects the construction method.
3. Customizing and Annotating the Detail
The tutorial emphasizes the importance of clearly labeling and dimensioning all components in the drafting view. Break lines are used to indicate where walls extend beyond the detail, and annotations are added for clarity.
Key Steps:
Add break lines to visually break the wall detail where it extends beyond the view.
Use the Text tool to annotate components like the gypsum, resilient channels, and studs.
Include specific dimensions, such as placing resilient channels 16 inches on center, to ensure clarity for contractors.
These annotations provide essential information for construction, making it easier to understand the detail’s intent.
4. Converting Section Details into Plan Details
To provide a complete view of the wall assembly, the section detail is converted into a plan detail by duplicating the drafting view and modifying the orientation.
Key Steps:
Duplicate the drafting view and rename it as a Plan Detail.
Adjust the components to reflect a top-down view, removing elements like baseboards and repositioning the resilient channels.
Use the Component tool to reinsert the resilient channels, ensuring proper alignment with the studs in plan view.
Plan details provide an alternate perspective, offering a clear understanding of the wall assembly’s layout.
5. Organizing Views and Assigning Categories
Once the drafting views are complete, it’s crucial to organize them within the project by assigning categories and design phases. This ensures that details are easy to locate and manage, especially in large projects.
Key Steps:
Assign the drafting view to a category like Walls for clear project organization.
Set the design phase to Construction Drawings to ensure it is categorized correctly in the project browser.
Organizing views ensures that the project remains well-structured and easy to navigate, especially when managing multiple details.
Conclusion
Creating and organizing drafting views in Revit is an essential skill for producing detailed, accurate construction documents. By following these steps, users can efficiently build and customize wall section and plan details, ensuring clarity and precision. Proper organization of these views within the project helps maintain consistency, especially in large-scale architectural or engineering projects.