Creating exit signs in life safety RCP in Revit.

━━━━━━━━━━━━━━━━━━━━━━
🔗 FREE & PAID RESOURCES
━━━━━━━━━━━━━━━━━━━━━━
📐 Notion Business OS for Architects (my most popular template):
https://cpd.gumroad.com/l/civaw?utm_source=youtube&utm_medium=description

🌐 More Revit tutorials: https://corbinteaches.com

━━━━━━━━━━━━━━━━━━━━━━
CONNECT
━━━━━━━━━━━━━━━━━━━━━━
Subscribe: https://bit.ly/3VFqR86
Instagram: https://bit.ly/3J8l6Io
Architecture work: https://bit.ly/3VPUnrJ
more insights

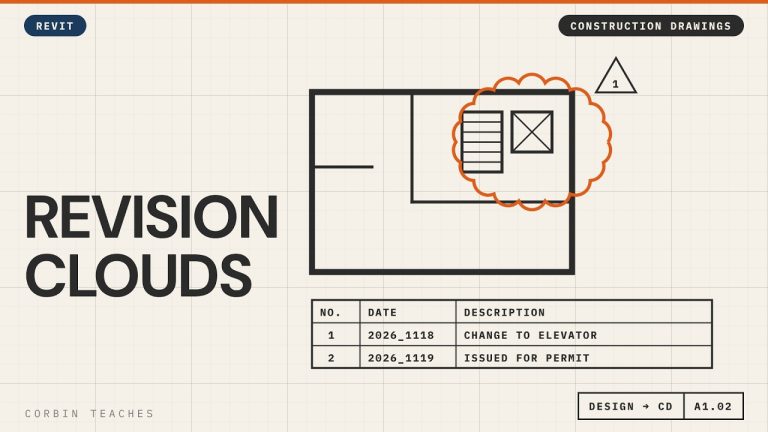
Add Revision Clouds and Issue Sheets for Permit — Revit

Add revision clouds in Revit, make them red, and issue a set for permit without clouding every view. I place a cloud from the Annotate tab, set up the revision in View › Revisions, change the cloud and tag colour in Object Styles, then add an “Issued for Permit” revision to every sheet at once.

In this video:
• When to start using revisions (after design approval)
• Annotate › Revision Cloud, and where it shows up on the title block
• View › Revisions: date, description, Cloud and Tag vs Tag Only, Issued
• Why Issued locks the cloud
• Make clouds and revision tags red: Manage › Object Styles › Annotation Objects (not Line Styles)
• A revision with no cloud: Issued for Permit
• Add it to many sheets at once: select sheets › Revisions on Sheet

⏱ CHAPTERS
00:00 Why use revision schedules
00:56 Draw a revision cloud
01:27 Set up the revision in View › Revisions
02:13 Issued locks the revision
02:30 Make revision clouds red
03:38 Issue a set without clouds
04:23 Add the issue to many sheets at once
05:30 Cloud plus issue on the title block

▶ DESIGN TO CONSTRUCTION DRAWINGS
Part 1, Arch D title block: https://youtu.be/kI_12LX83co
Part 2, design, CD and working views: https://youtu.be/g4AHt1J606k

#Revit #RevitTutorial #BIM

━━━━━━━━━━━━━━━━━━━━━━
🔗 FREE & PAID RESOURCES
━━━━━━━━━━━━━━━━━━━━━━
📁 Notion Business OS for Architects (my most popular template):
https://cpd.gumroad.com/l/civaw?utm_source=youtube&utm_medium=description

📁 Free Notion Issue Tracker for Architects:
https://cpd.gumroad.com/l/cjlls?ref=yt-revision-clouds-issue

🌐 More Revit tutorials: https://corbinteaches.com

━━━━━━━━━━━━━━━━━━━━━━
CONNECT
━━━━━━━━━━━━━━━━━━━━━━
Subscribe: https://bit.ly/3VFqR86
Instagram: https://bit.ly/3J8l6Io
Architecture work: https://bit.ly/3VPUnrJ

Read more >

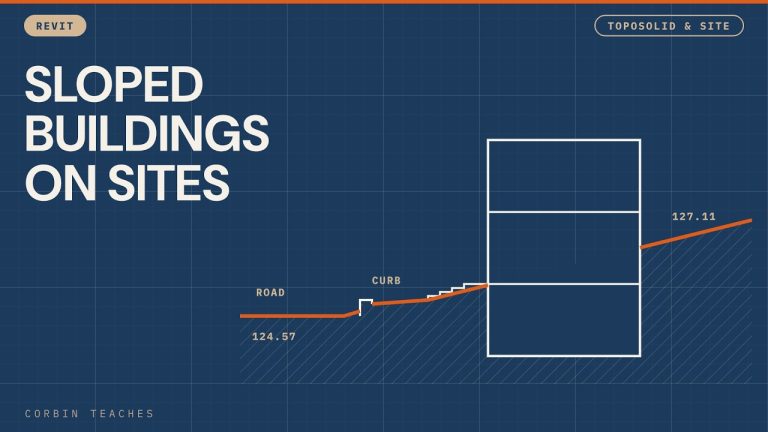
Model a Sloped Site from a PDF Survey — Revit

Model a sloped urban site in Revit, starting from a PDF survey. I import and scale the PDF, build a toposolid from the survey spot elevations (about 2.5 m of fall across the lot), drop the site to a working level with the survey point, then add the road, sidewalk, a custom curb and stairs that meet the grade.

In this video:
• Import the PDF at 300 DPI and scale it with a 10 m dimension (metric survey in an Imperial project)
• Toposolid past the property line so you have context for renderings
• Add Point with Absolute elevations, and switching units to metres while you click points
• Move the survey point and offset the toposolid so the site sits near Level 1
• Let Revit do the math: type =128.4-126.5 in an elevation field
• Quick property lines (and why you should use bearings and distances)
• Sub-divide the road and set it to asphalt, raised slightly above grade
• Sidewalk as a floor with Pick Lines, then shape it to the slope with Modify Sub Elements
• Edit the Thickened Slab Edge profile into a curb with a reveal and rounded edges
• Stairs from the sidewalk up to the floor, with one extra riser so the top tread meets the slab
• A floor as a transition piece between the sidewalk and the stairs
• Environment for Revit: shape a floor to the toposolid

⏱ CHAPTERS
00:00 A site with a 2.5 m grade change
00:39 Import the PDF survey
01:02 Scale the PDF
02:35 Toposolid past the property line
03:19 Add points at absolute elevations
06:10 Bring the site down with the survey point
09:19 Let Revit do the math
10:12 Sketch the property lines
11:12 Sub-divide the road as asphalt
13:42 Sidewalk as a floor
18:08 5″ concrete sidewalk type
19:11 Shape the sidewalk to the grade
21:33 Slab Edge for the curb
22:16 Draw the curb profile
25:27 Load the curb and set the type
28:17 Building set into the slope
29:01 Stairs from grade to the floor
31:01 Transition floor at the stairs
33:45 Environment for Revit: floor to topo

▶ MORE TOPOSOLID & SITE
Sidewalk curb with a custom slab edge: https://youtu.be/lxnMa_H3UMY
Create toposolids and sloping terrain: https://youtu.be/QDorK4ib9vs
Sloped topography and stone steps: https://youtu.be/NbaSLRGHhJw
Property lines and site plan: https://youtu.be/sauTm8wf3Eo
Point cloud to toposolid (Environment plugin): https://youtu.be/Npw_hHhZVYU

#Revit #RevitTutorial #BIM

━━━━━━━━━━━━━━━━━━━━━━
🔗 FREE & PAID RESOURCES
━━━━━━━━━━━━━━━━━━━━━━
📁 Notion Business OS for Architects (my most popular template):
https://cpd.gumroad.com/l/civaw?utm_source=youtube&utm_medium=description

📁 Free Notion Issue Tracker for Architects:
https://cpd.gumroad.com/l/cjlls?ref=yt-sloped-site-pdf-survey

🌐 More Revit tutorials: https://corbinteaches.com

━━━━━━━━━━━━━━━━━━━━━━
CONNECT
━━━━━━━━━━━━━━━━━━━━━━
Subscribe: https://bit.ly/3VFqR86
Instagram: https://bit.ly/3J8l6Io
Architecture work: https://bit.ly/3VPUnrJ

Read more >

Cut a Void Form Out of a Solid with Model In-Place — Revit

Cut one form out of another with void forms. In an in-place generic model I extrude a solid box, draw a second extrusion on a side plane, switch it to a void and use Cut, then do the same with a sweep to round off the back.

In this video:
• Model In-Place › Generic Model, then a solid extrusion
• A second extrusion drawn on a side plane
• Why I model it as a solid first, then change it to a void form
• Cut: pick the solid to be cut, then the void (watch the status bar)
• Void sweep with a 30″ rounded profile
• Change to void, Cut, and the rounded back

⏱ CHAPTERS
00:00 Void inside a solid form
00:15 Extrude a solid box
00:36 Extrusion on a side plane
01:20 Change it to a void form
01:32 Cut: solid first, then void
01:55 Cut with a void sweep
02:15 30″ rounded profile
02:39 Change to void and cut
02:59 Result

▶ MORE MASSING
Add walls and floors to a mass: https://youtu.be/DIf_DXRKX3o

#Revit #RevitTutorial #BIM

━━━━━━━━━━━━━━━━━━━━━━
🔗 FREE & PAID RESOURCES
━━━━━━━━━━━━━━━━━━━━━━
📁 Notion Business OS for Architects (my most popular template):
https://cpd.gumroad.com/l/civaw?utm_source=youtube&utm_medium=description

📁 Free Notion Issue Tracker for Architects:
https://cpd.gumroad.com/l/cjlls?ref=yt-revit-void-form

🌐 More Revit tutorials: https://corbinteaches.com

━━━━━━━━━━━━━━━━━━━━━━
CONNECT
━━━━━━━━━━━━━━━━━━━━━━
Subscribe: https://bit.ly/3VFqR86
Instagram: https://bit.ly/3J8l6Io
Architecture work: https://bit.ly/3VPUnrJ

Read more >