__
Subscribe to this channel: https://bit.ly/3VFqR86
Website: https://bit.ly/3VPUnrJ
__
__
Social Media
Instagram: https://bit.ly/3J8l6Io
Personal Instagram: https://bit.ly/3TMWZnD
Pinterest: https://bit.ly/43LlPc1
Houzz: https://bit.ly/3xm04DE
__
__
What’s in my Bag? Check out my KIT!!
https://bit.ly/3PQtFeC
Camera – https://bit.ly/3POwEEH
Tech – https://bit.ly/43I2hFH
Drawing Tools – https://bit.ly/4aE5YOM
__
__
Sharing a 3D View in Revit Using Autodesk’s Shared Views
Introduction
Collaboration between architects, engineers, consultants, and contractors is essential in construction projects, and sharing detailed 3D views of models is a key part of that process. This tutorial walks through how to use Autodesk’s Shared Views feature to easily share a 3D view of a Revit project with external stakeholders. The shared view can be accessed through a browser, simplifying the process for collaborators who don’t have Revit installed.
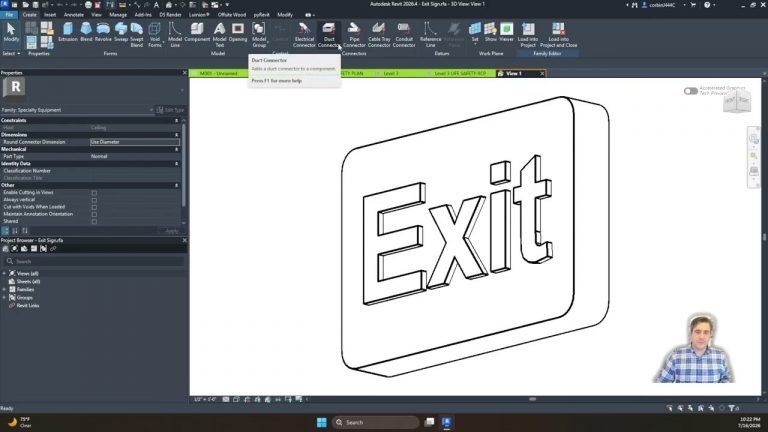
1. Selecting a 3D View in Revit
The first step in sharing a 3D view is selecting the specific view you want to share. This is important because it defines what part of the model your collaborators will see.
Key Steps:
Open the project in Revit and select the 3D view you want to share.
Ensure the view is fully set up and ready for sharing, including the proper camera angle or section of the model.
2. Using the Shared Views Feature
Revit’s Shared Views feature, located in the Collaborate tab, allows you to upload a selected 3D view to Autodesk’s cloud. This makes it easy to share the model with team members who can access it via a web browser.
Key Steps:
Navigate to the Collaborate tab in Revit.
Click on Shared Views and select New Shared View.
Enter a name for the view (e.g., 3D View [Date] for organization).
Once the view is named, Revit will begin uploading it to Autodesk’s cloud platform, allowing it to be shared with others.
3. Generating and Sharing the Link
After the view is uploaded, Revit provides a link that can be shared with your collaborators. The process is quick, and once the model finishes processing, it is ready to be viewed.
Key Steps:
Once the upload is complete, click on the three dots next to the shared view and select Copy Link.
Share the link with consultants, contractors, or team members via email or messaging.
The link opens in any browser, allowing collaborators to view the model without needing to download Revit or any specific software.
4. Viewing the Model in a Browser
The shared link leads to Autodesk’s online viewer, where stakeholders can interact with the model directly in their browser. This is ideal for project members who don’t have Revit but still need to inspect the 3D model.
Key Features:
The viewer allows users to zoom, pan, and rotate the model.
They can explore different angles and parts of the model, making it easier to understand project details without specialized software.
Conclusion
Using Autodesk’s Shared Views in Revit is a powerful way to share 3D models with external collaborators, making it easier for engineers, consultants, and contractors to review your work without needing access to Revit. This method streamlines communication, simplifies project review, and enhances collaboration by providing a quick, browser-based solution for viewing complex models.