Little Lake Joseph Cottage Video 1

Subscribe to this channel: https://bit.ly/3VFqR86
Website: https://bit.ly/3VPUnrJ
__
__
Social Media
Instagram: https://bit.ly/3J8l6Io
Personal Instagram: https://bit.ly/3TMWZnD
Pinterest: https://bit.ly/43LlPc1
Houzz: https://bit.ly/3xm04DE
__
__
What’s in my Bag? Check out my KIT!!
https://bit.ly/3PQtFeC
Camera – https://bit.ly/3POwEEH
Tech – https://bit.ly/43I2hFH
Drawing Tools – https://bit.ly/4aE5YOM
__
__
Introduction
The Bumblebee Road project is an innovative construction endeavor featuring a meticulously designed cottage. The project is a collaborative effort between Snowetta, the design architect, and Scott Custom Building, the main contractor. This article delves into the key aspects of the project, from its unique architectural elements to the intricate construction processes involved.

Design and Architectural Features
Cantilevered Concrete Walls
One of the standout features of the Bumblebee Road project is the cantilevered concrete walls. These walls are supported by steel C channels that project from the building’s exterior, creating an illusion of floating walls. The walls will have a hammered finish and serve both functional and aesthetic purposes.

Floating Concrete Patio
The exterior design includes a concrete patio that extends around the entire building. This patio is designed to cantilever out, mirroring the depth of the above-grade concrete walls, enhancing the floating appearance of the structure. The areas without wood are designated exterior spaces, further emphasizing the integration of indoor and outdoor living.

Entry and Porch Areas
The entry to the cottage is along a back wall, leading to a covered porch and a screened porch. The second floor extends above these areas, adding to the complexity of the design. The screened porch will feature retractable drop-down screens, providing versatility and comfort.

Interior Layout
Kitchen and Living Areas
The interior layout is thoughtfully designed to maximize views and functionality. The kitchen, located beside a window facing Little Lake Joe, leads into the dining and living rooms. The living room features an exposed concrete wall with an indoor fireplace, creating a cozy and stylish ambiance.

Primary Bedroom and Staircase
Adjacent to the living room are the primary bedroom, bathroom, and closet. The staircase, positioned within this area, provides access to both the second floor and the basement, ensuring seamless movement throughout the cottage.

Construction and Collaboration
Engineering and Structural Support
The construction of the Bumblebee Road project involves significant engineering and structural support. Concrete blocks support the second floor, particularly in areas designed to appear as though they are floating. The project relies on a web of steel for additional structural integrity.

Team Effort and Contractors
The project’s success is attributed to the collaboration between various contractors and specialists. Scott Custom Building oversees the construction, with Kenosha Bay handling the steel work and Huntsville Concrete responsible for the concrete elements. Snowetta’s design vision drives the project, ensuring a cohesive and innovative final product.

Conclusion
The Bumblebee Road project exemplifies modern architectural ingenuity and collaborative effort. With its unique design features, such as cantilevered concrete walls and floating patios, this cottage stands as a testament to innovative construction practices. The project continues to progress, promising a stunning and functional living space upon completion.

Stay tuned for more updates on this exciting project as it continues to take shape.
more insights

Extrude a Box with an In-Place Generic Model — Revit

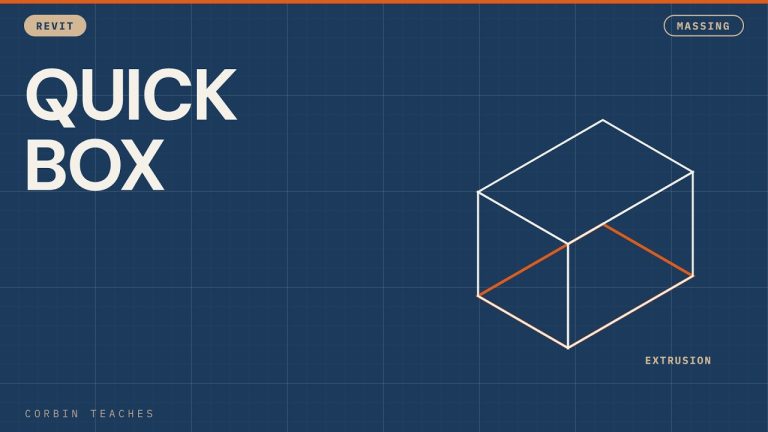
A quick look at the other kind of in-place model. Instead of the Mass category, pick Generic Model to get the Extrusion tool: a simple box with four sides, without the point editing you get on a mass form.

In this video:
• Model In-Place › Generic Model instead of Mass
• The Extrusion tool
• How a generic model extrusion differs from the mass form in the last video (no point control)

⏱ CHAPTERS
00:00 Generic Model instead of Mass
00:22 The Extrusion tool
00:36 Box vs mass form

▶ MORE MASSING
Add walls and floors to a mass: https://youtu.be/DIf_DXRKX3o

#Revit #RevitTutorial #BIM

━━━━━━━━━━━━━━━━━━━━━━
🔗 FREE & PAID RESOURCES
━━━━━━━━━━━━━━━━━━━━━━
📁 Notion Business OS for Architects (my most popular template):
https://cpd.gumroad.com/l/civaw?utm_source=youtube&utm_medium=description

📁 Free Notion Issue Tracker for Architects:
https://cpd.gumroad.com/l/cjlls?ref=yt-revit-inplace-extrusion

🌐 More Revit tutorials: https://corbinteaches.com

━━━━━━━━━━━━━━━━━━━━━━
CONNECT
━━━━━━━━━━━━━━━━━━━━━━
Subscribe: https://bit.ly/3VFqR86
Instagram: https://bit.ly/3J8l6Io
Architecture work: https://bit.ly/3VPUnrJ

Read more >

Mass Not Showing When You Reopen? Fix It — Revit

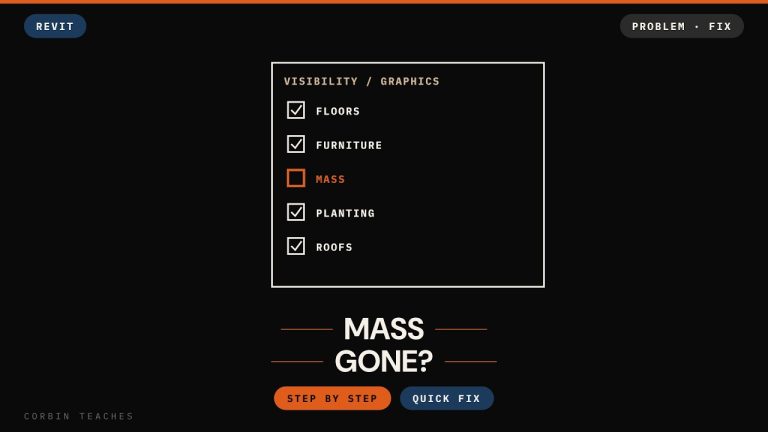
Modelled a mass, closed Revit, reopened the project and the mass is gone? It’s still there. Revit turns the Mass category off in Visibility/Graphics by default, so here’s how to turn it back on in a few seconds.

In this video:
• A mass made with Model In-Place disappears after the project is closed and reopened
• Why Revit hides masses by default (my best guess: older, slower computers)
• VG on the keyboard, or View tab › Visibility/Graphics
• Tick the Mass category to bring it back

⏱ CHAPTERS
00:00 Mass gone after reopening
00:14 Close and reopen the project
00:31 Why Revit hides masses
00:41 Turn Mass back on in Visibility/Graphics
01:00 Wrap-up

▶ MORE MASSING
Add walls and floors to a mass: https://youtu.be/DIf_DXRKX3o

#Revit #RevitTutorial #BIM

━━━━━━━━━━━━━━━━━━━━━━
🔗 FREE & PAID RESOURCES
━━━━━━━━━━━━━━━━━━━━━━
📁 Notion Business OS for Architects (my most popular template):
https://cpd.gumroad.com/l/civaw?utm_source=youtube&utm_medium=description

📁 Free Notion Issue Tracker for Architects:
https://cpd.gumroad.com/l/cjlls?ref=yt-revit-mass-not-showing

🌐 More Revit tutorials: https://corbinteaches.com

━━━━━━━━━━━━━━━━━━━━━━
CONNECT
━━━━━━━━━━━━━━━━━━━━━━
Subscribe: https://bit.ly/3VFqR86
Instagram: https://bit.ly/3J8l6Io
Architecture work: https://bit.ly/3VPUnrJ

Read more >

Model an In-Place Mass with Create Form — Revit

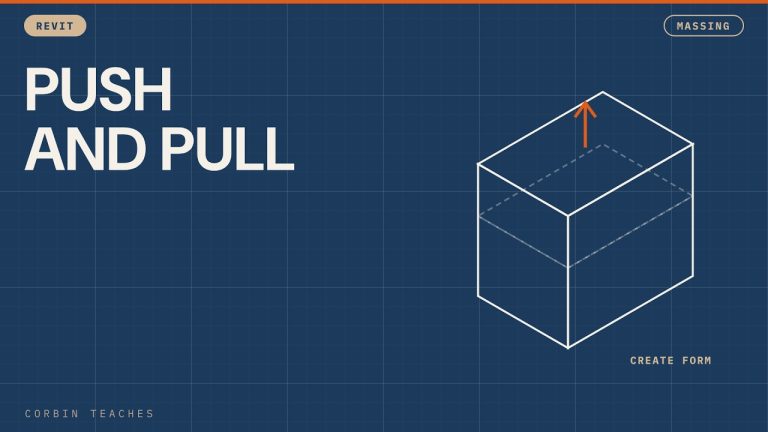
Model In-Place lets you make one-off objects that aren’t loadable families, walls or components. Here I start an in-place mass, draw a rectangle, turn it into a solid form, then drag faces and points to reshape it. First video in my massing series.

In this video:
• Architecture tab › Model In-Place, Mass category
• Turn on masses when Revit asks, and name the mass
• Switch to 3D and draw a rectangle
• Create Solid Form
• Change the height and drag a face to change proportions
• Drag a point to reshape the form

⏱ CHAPTERS
00:00 What Model In-Place is for
00:20 Pick the Mass category
00:38 Draw a rectangle in 3D
00:53 Create Solid Form
01:03 Change height and proportions
01:15 Drag points to reshape
01:29 Coming up in the series

▶ MORE MASSING
Add walls and floors to a mass: https://youtu.be/DIf_DXRKX3o

#Revit #RevitTutorial #BIM

━━━━━━━━━━━━━━━━━━━━━━
🔗 FREE & PAID RESOURCES
━━━━━━━━━━━━━━━━━━━━━━
📁 Notion Business OS for Architects (my most popular template):
https://cpd.gumroad.com/l/civaw?utm_source=youtube&utm_medium=description

📁 Free Notion Issue Tracker for Architects:
https://cpd.gumroad.com/l/cjlls?ref=yt-revit-inplace-mass

🌐 More Revit tutorials: https://corbinteaches.com

━━━━━━━━━━━━━━━━━━━━━━
CONNECT
━━━━━━━━━━━━━━━━━━━━━━
Subscribe: https://bit.ly/3VFqR86
Instagram: https://bit.ly/3J8l6Io
Architecture work: https://bit.ly/3VPUnrJ

Read more >